
Groove shared photo instructions on how to properly debox the upcoming release of Disney collaboration Doll Collection Cinderella via their blog earlier today. I’m glad that they shared these photos as after looking at them if I hadn’t had the instructions I’m honestly not sure how I would have approached deboxing her when and if I am able to add her to my collection without these instructions and I have lots of experience deboxing Pullips. This definitely looks like one of the most complicated Groove doll deboxing processes that I have ever seen.
 I’m basically just going to reblog what Groove said as I want their instructions to reach as many people as possible as I feel like Cinderella may be a bit intimidating or challenging to debox for some first time owners of Groove dolls. I believe Cinderella will likely bring a lot of new people into the hobby so I want to make sure that the information is out there especially for newbies.
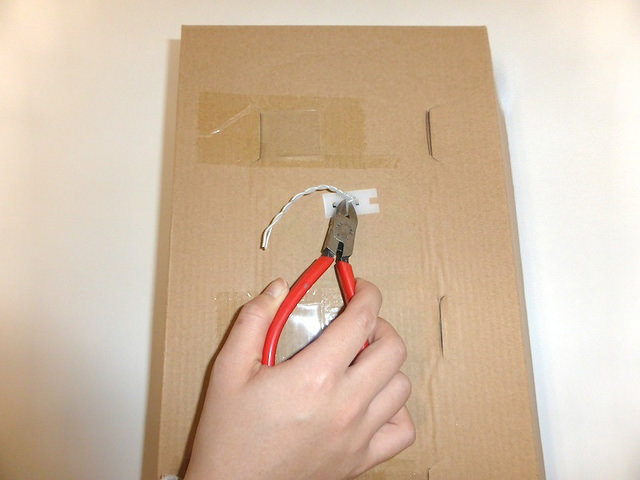
Recommended Items for deboxing Scissors and cutters/snips, personally I have a pair of bead pliers that I got at Walmart for like $4 years ago that I use to cut the twist ties to aid with all of my deboxings.
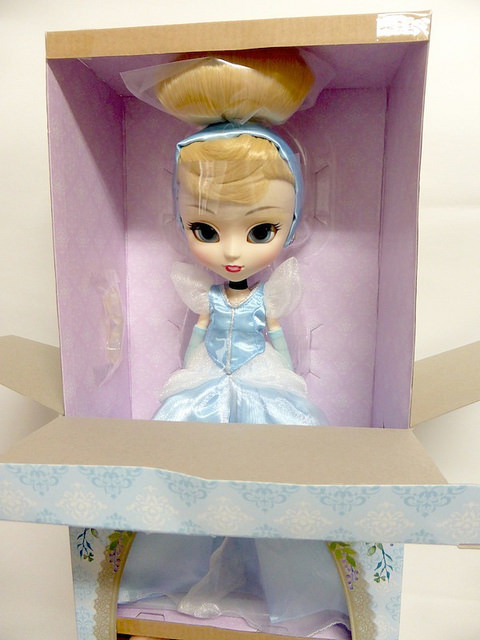
Step One Remove the box liner with the doll attached to it from the box
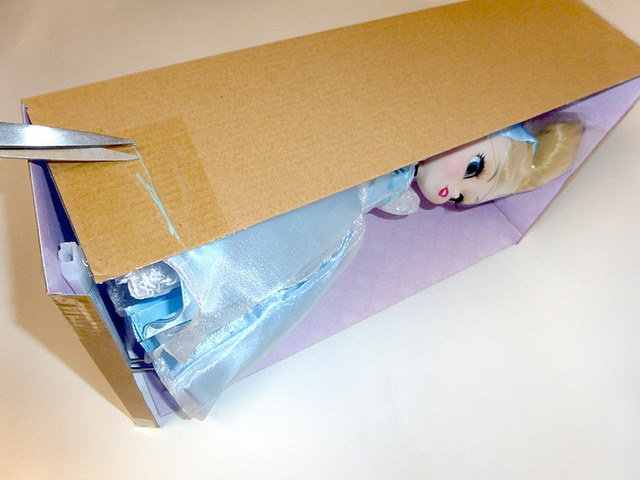
 Step Two Cut the thread on the side of the box.
 Step Three Open the box liner
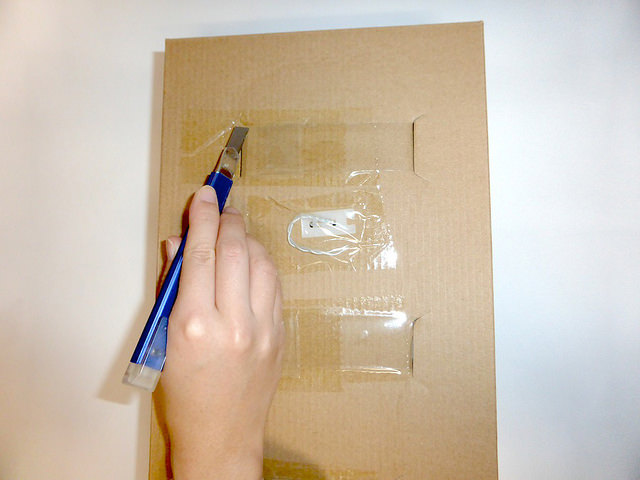
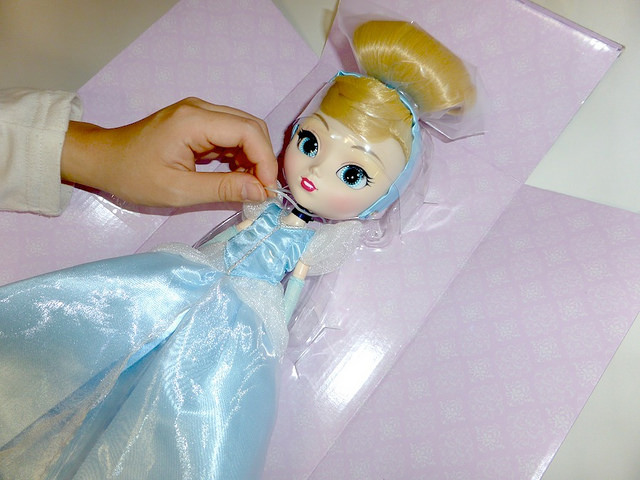
 Step 4 Cut the vinyl with the knife or scissors on the box liner.
 Step 5 Use the snips to cut the twist tie.
 Step 6 Remove the twist tie and vinyl straps.
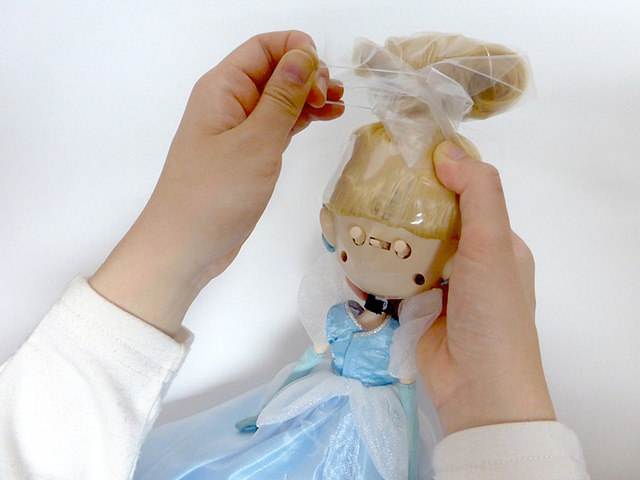
 Step 7 Remove the vinyl wrapping from around the hair.
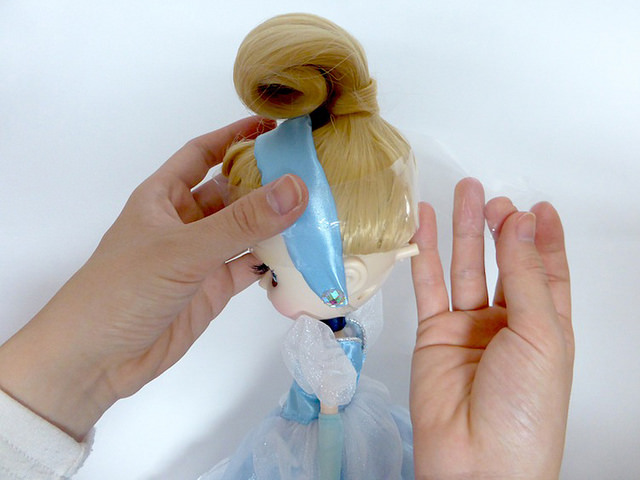
 Step 8 Carefully remove the vinyl wrapping from around the forehead, be careful not to scratch the doll’s face.
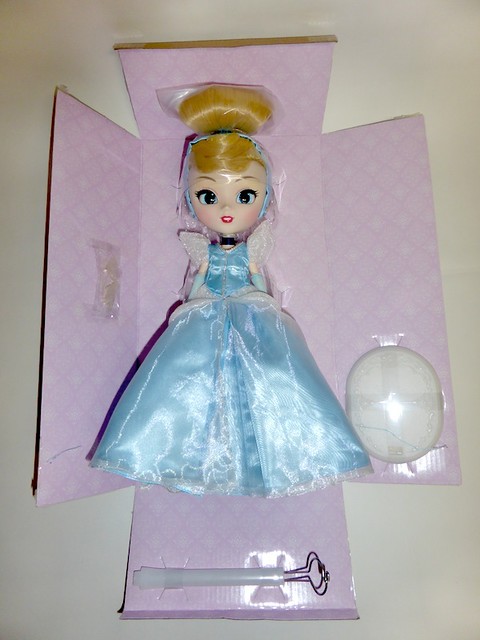
Step 9 Remove the rest of the items from the box liner. Pullip Cinderella is free to dance the night away at the ball now!
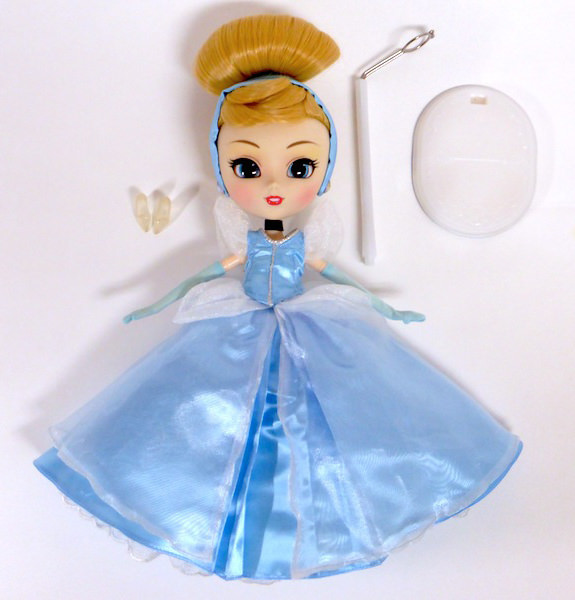
Now we are moving on how to use the stand!
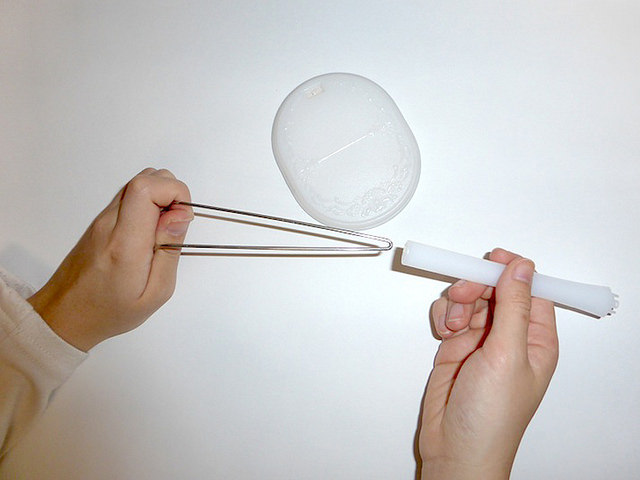 The stand is in three pieces: the metal bracket, the pillar and the base.
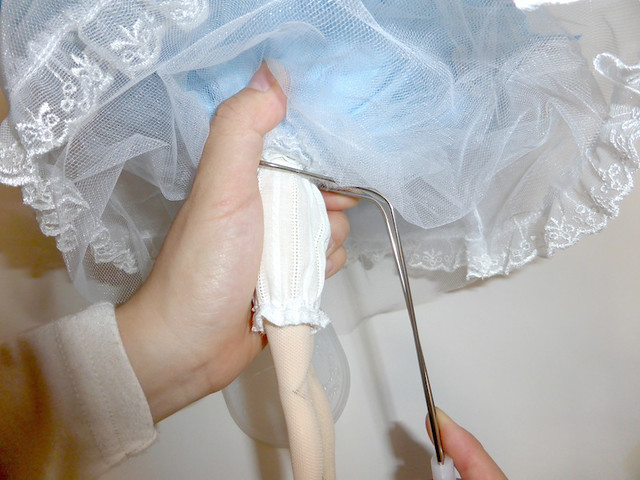
Put the metal bracket around her waist then slide it into the pillar as shown in the above picture.
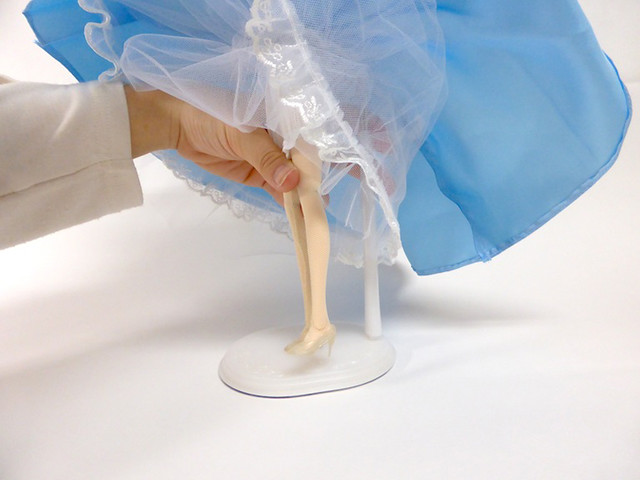 Attach the pillar to the base of the stand. If you are having difficulty or don’t care for the included Pullip stand, Kaiser stands are a cheap alternative that are available at craft stores such as ACMoore and Micheal’s.
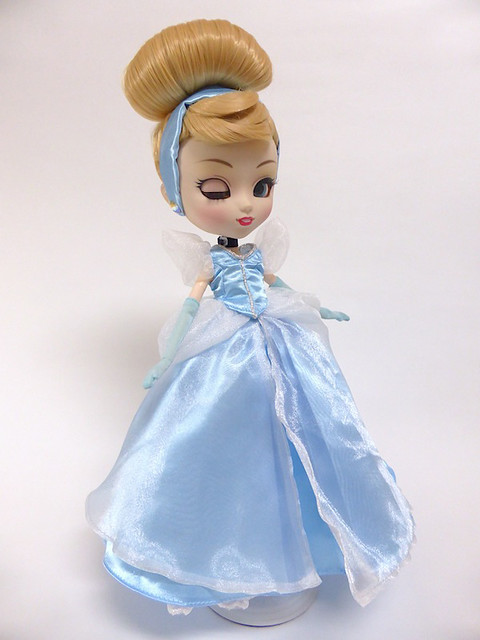 Voila, have fun posing your new Cinderella doll!
Please remember to be careful while handling sharp objects, I needed to get six stitches thanks to a deboxing incident a few years ago!


Omg – I don’t think I’ve ever opened a box liner for a doll. It’s always so awkward for me to cut out the accessories! This is so helpful! Who knew I needed directions to open a box! 😜
You’d be surprised how many people have broken stuff while attempting to debox the dolls, Pullip isn’t the sturdiest doll. Since this doll is probably going to bring a lot of people into the hobby and is slightly more complex to debox than normal with the wrap around the head/hair I see the potential for a lot of Cinderella’s getting their hair ruined by either newbies or people not being careful enough while deboxing. Cindy’s hair looks like it would be a nightmare to fix if it did come undone.
You are so right – I just took a closer look at her hair. It looks crazy complicated. But it also reminded me of the samurai top knot (chonmage) and now I can’t unsee it. Maybe if her hair gets undone, you could get a sumo wrestler to redo it!